This project is sourced from another site, not written by us — this list is our best match of their components against what we stock, not a verified bill of materials. Always check the original blog (linked above) for the actual parts list before buying.
This list includes a generic resistor set
as a placeholder — it is not matched to the exact value or part number this circuit needs. The correct one is specified on the original source page linked above; check it before buying.
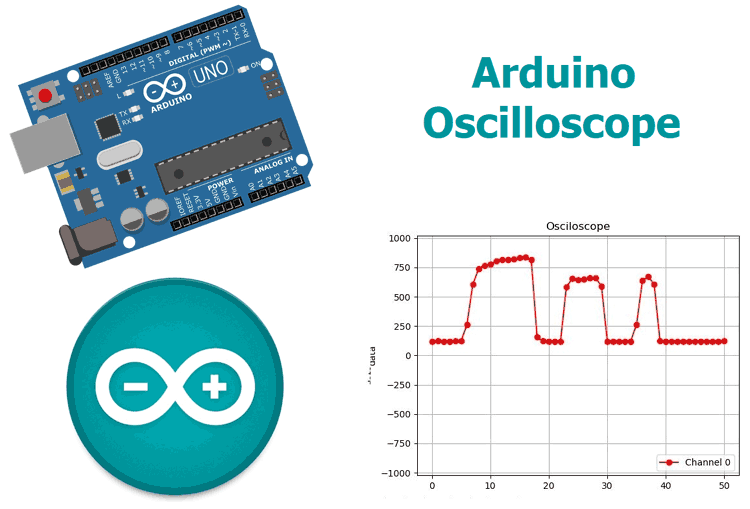
The Arduino Based Real-Time Oscilloscope transforms an Arduino microcontroller into a basic test and measurement instrument capable of visualizing electrical signals over time. At the core of the system is the Arduino board's built-in Analog-to-Digital Converter (ADC), which samples an incoming voltage signal applied to one of its analog input pins. Using the Arduino IDE, custom firmware is programmed onto the microcontroller to continuously read these analog voltage levels at regular time intervals. The core circuitry is assembled on a breadboard using connecting wires and standard resistors to form necessary voltage divider networks or input protection networks, ensuring the input signal remains safely within the microcontroller's operational limits. Once the ADC measures the voltage, the microcontroller digitizes the value and transmits the data stream over a serial connection to a computer. On the computer, software receives this stream and plots amplitude against time on a graphical interface, effectively rendering a real-time waveform representation of the signal under observation.
Why Build This
Gain hands-on experience with mixed-signal instrumentation by turning an affordable microcontroller into a functional diagnostic tool for debugging undergraduate-level electronic circuits.
Understand the practical limitations and operational parameters of Analog-to-Digital Converters (ADCs), sampling rates, and data acquisition in embedded engineering applications.
Visualize dynamic electrical phenomena such as audio signals, sensor outputs, and basic waveform propagation without needing expensive laboratory bench equipment.
Real-World Application
Used for debugging electronic circuits, testing audio signals, analyzing sensor outputs, and educational demonstrations of wave propagation.
Skills You'll Learn
analog-to-digital conversion
data acquisition
serial communication protocols
basic circuit prototyping
voltage scaling and conditioning
Safety Precautions
Do not connect high-voltage mains AC signals directly to the Arduino analog pins, as this can damage the board and pose a severe shock hazard.
Technology Tags
ARDUINO
OSCILLOSCOPE
MICROCONTROLLER
SIGNAL MEASUREMENT
ELECTRONICS
Frequently Asked Questions
No, the Arduino analog pins can typically only handle voltages between 0V and 5V (or 3.3V depending on the board). Exceeding these limits or connecting high-voltage mains AC signals directly will permanently damage the microcontroller and create a severe shock hazard.
You need the Arduino IDE to compile and upload the firmware code to the microcontroller, along with a compatible serial plotting interface or companion software on your computer to render the incoming data points as a visual waveform.
Due to the execution speed of the Arduino's ADC and the limitations of serial data transmission rates, this setup is best suited for low-frequency signals such as audio waveforms, slow sensor outputs, and educational demonstrations rather than high-frequency radio signals.
Gallery
This page is part of Kitkraft's Project Hub — a curated collection of electronics & robotics projects gathered from the maker community to help students and hobbyists discover and learn to build. Kitkraft does not claim authorship of the original project, and makes no representation as to the accuracy, completeness or safety of third-party source material. The summary and "How It Works" explanation above are AI-generated, rewritten with reference to the original tutorial — not a reproduction of it. Full credit and a direct link to the original source are provided above. If you're the original creator and have a concern about how your work is represented here, please contact us and we'll address it promptly.
Kitkraft Project Hub — curated from the maker community, credited at the source.
 Jumper Wire 10 Pin Male To Male 20cm
Rs. 45.00
 MB102 Adjustable Breadboard Power Supply Module (3.3V & 5V) for Arduino & Raspberry Pi
Rs. 139.00
 10pcs - 220 ohm 1/4 W Resistor Set
Rs. 39.00
 400 Points Mini Solderless Prototype PCB Breadboard High Quality
Rs. 89.00
 Jumper Wire 10 Pin Male To Female 20cm
Rs. 45.00


