DIY ESP32 Voice Recorder with SD Card and OLED Display
Project Hub
/Audio Displays & Interactive Media/LED Matrix & Cube Displays/DIY ESP32 Voice Recorder with SD Card and OLED Display
Intermediate
ESP32
Project Specific
3 – 6 Hours
Partial Kit
DIY ESP32 Voice Recorder with SD Card and OLED Display
Build a compact portable digital voice recorder using an ESP32-S2-based IndusBoard Coin, an INMP441 I2S MEMS microphone, an OLED display, and a microSD card.
This project is sourced from another site, not written by us — this list is our best match of their components against what we stock, not a verified bill of materials. Always check the original blog (linked above) for the actual parts list before buying.
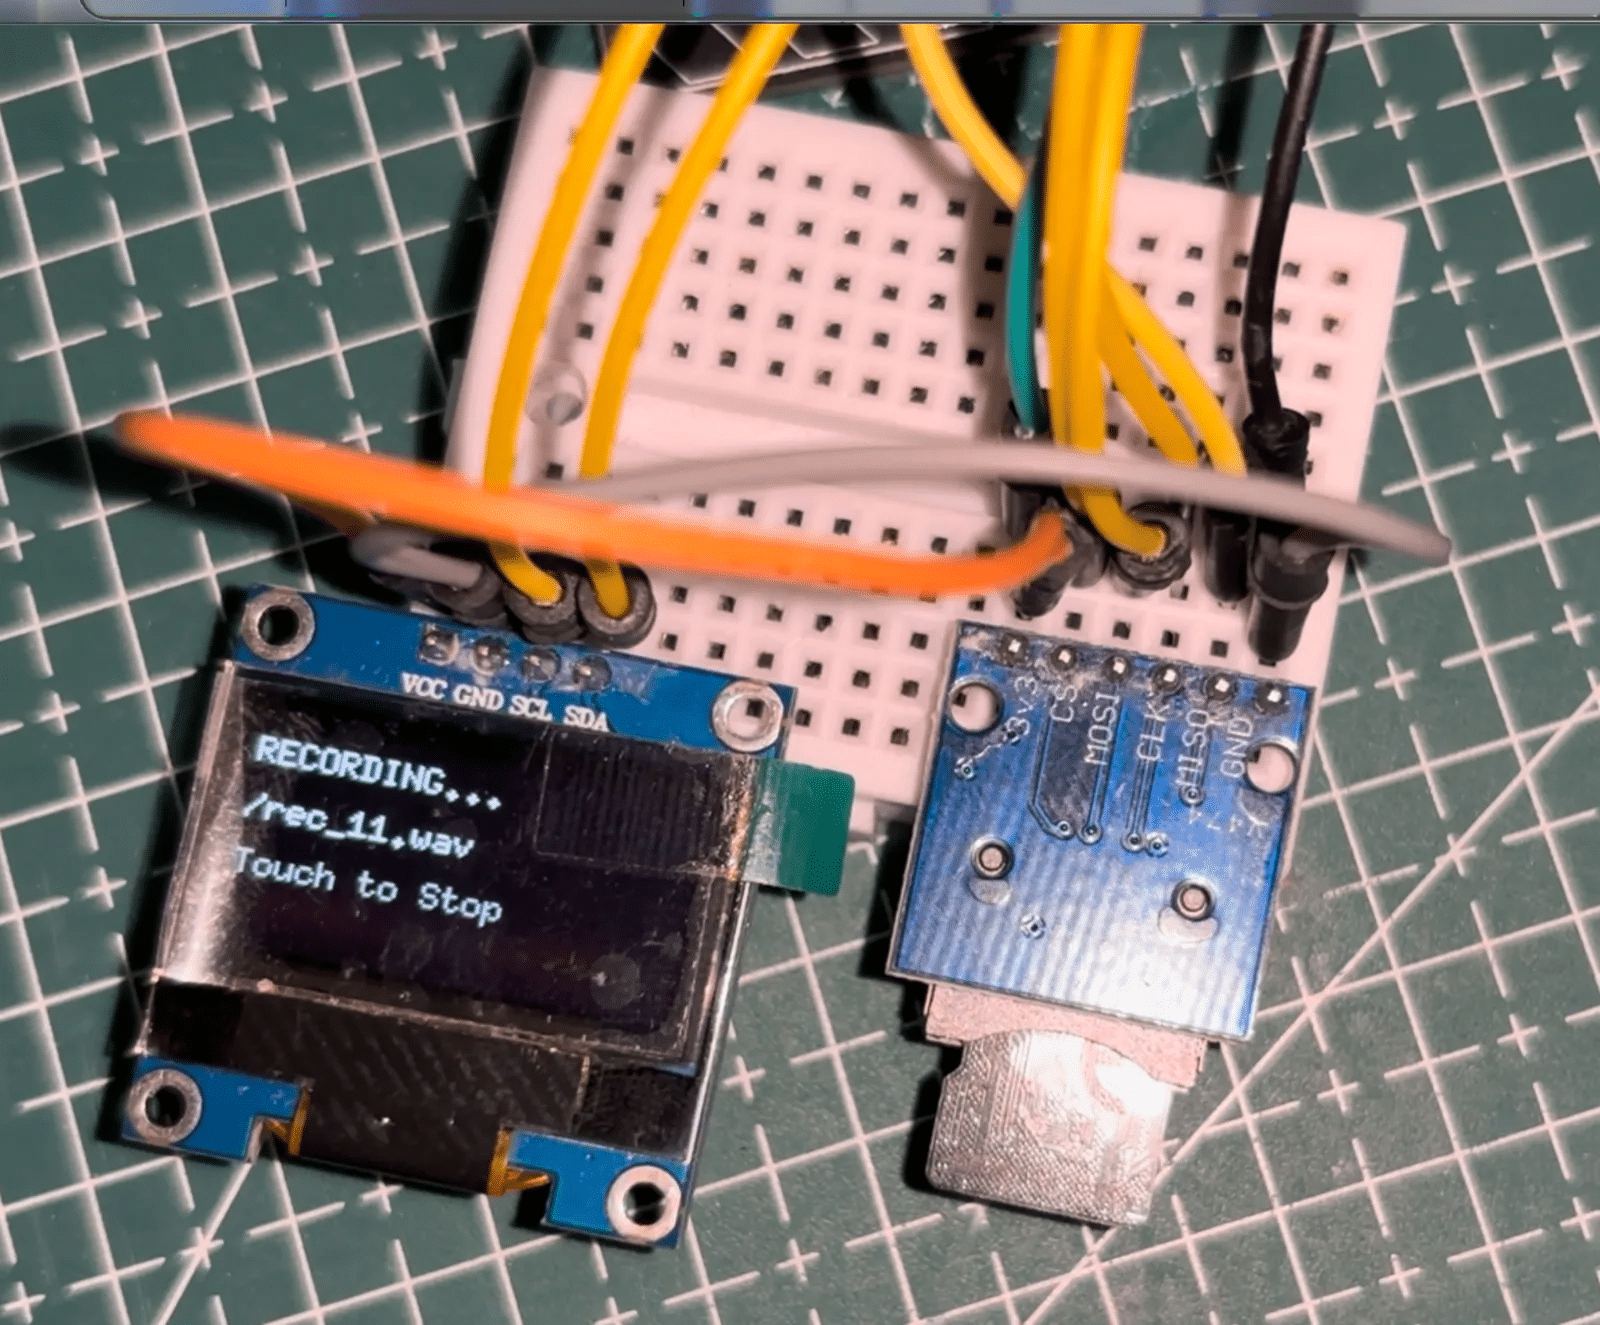
This portable digital voice recorder system operates by coordinating audio acquisition, local data storage, visual feedback, and power management through the ESP32-based IndusBoardV2 microcontroller. When the system is active, the INMP441 I2S MEMS microphone captures surrounding acoustic waves and converts them into digital audio data streams using the inter-IC sound (I2S) protocol, which allows for efficient, low-jitter serial transfer of high-fidelity digital audio directly to the microcontroller. The IndusBoardV2 processes these incoming audio blocks and streams them over a secondary interface to the SD card reader module, where the data is written and saved persistently onto a standard microSD card as raw or encoded audio files. Concurrently, the system drives an SSD1306 OLED 128x64 display via the I2C communication bus to provide real-time visual status updates, such as recording indicators, file information, or system readiness states. The entire standalone circuit is powered by a rechargeable 3.3V 1500mAh battery, delivering a stable operating voltage directly suited for the low-power logic levels of the microcontroller, display, and digital sensors. The firmware, compiled and uploaded via the Arduino IDE using the U8g2 display library, standard SD library, and built-in ESP32 I2S drivers, continuously manages the balance between reading audio data, writing blocks to storage, refreshing the graphical user interface, and monitoring system execution.
Why Build This
Design and deploy an embedded digital signal acquisition system capable of real-time audio sampling, protocol-based sensor communication, and persistent file writing for field research or automated data logging.
Gain practical undergraduate-level experience integrating multiple communication interfaces—specifically I2S for high-speed digital audio streaming and I2C for peripheral display control—within a single resource-constrained microcontroller environment.
Construct a completely portable, battery-powered embedded gadget that demonstrates power management, user interface rendering, and mass storage handling in a compact physical footprint.
Real-World Application
Interviews, field research, wildlife monitoring, covert audio capture, and machine sound analysis.
Skills You'll Learn
I2S digital audio communication
I2C display interfacing
SPI or SD card file system management
embedded power management
real-time sensor data acquisition
graphical user interface rendering
Safety Precautions
No specific precautions noted for this build — always follow general electronics safety practices.
Technology Tags
ESP32-S2
INDUSBOARD COIN
INMP441
I2S MEMS MICROPHONE
OLED DISPLAY
MICROSD CARD
AUDIO RECORDING
WAV FILE
SPI
I2C
ARDUINO IDE
Frequently Asked Questions
No, this project specifically requires an I2S digital MEMS microphone like the INMP441. Traditional analog microphones output a varying voltage that requires an Analog-to-Digital Converter, whereas the INMP441 outputs direct digital audio packets compatible with the ESP32's hardware I2S peripheral.
The ESP32 uses the standard SD card library to interface with the SD card reader module, allowing the microcontroller to create, write, and manage files directly on a formatted microSD card inserted into the module.
You will need the Arduino IDE installed on your computer, along with the ESP32 board package, the U8g2 graphics library for the OLED display, the SD library, and the ESP32 I2S driver to handle the audio pipeline.
Gallery
This page is part of Kitkraft's Project Hub — a curated collection of electronics & robotics projects gathered from the maker community to help students and hobbyists discover and learn to build. Kitkraft does not claim authorship of the original project, and makes no representation as to the accuracy, completeness or safety of third-party source material. The summary and "How It Works" explanation above are AI-generated, rewritten with reference to the original tutorial — not a reproduction of it. Full credit and a direct link to the original source are provided above. If you're the original creator and have a concern about how your work is represented here, please contact us and we'll address it promptly.
Kitkraft Project Hub — curated from the maker community, credited at the source.
 0.96 Inch I2C/IIC 4pin OLED Display Module White
Rs. 349.00
 Microphone module - Analog Sound Sensor Module for Arduino
Rs. 63.00
 400 Points Mini Solderless Prototype PCB Breadboard High Quality
Rs. 89.00
 MB102 Adjustable Breadboard Power Supply Module (3.3V & 5V) for Arduino & Raspberry Pi
Rs. 139.00
 Jumper Wire 10 Pin Male To Male 20cm
Rs. 45.00
 Jumper Wire 10 Pin Male To Female 20cm
Rs. 45.00


