Project Hub
/Security Surveillance & Defense/Intrusion Detection Systems/DIY LED Strip Controller with Motion Sensor
Intermediate
ARDUINO
Project Specific
3 – 6 Hours
Partial Kit
DIY LED Strip Controller with Motion Sensor
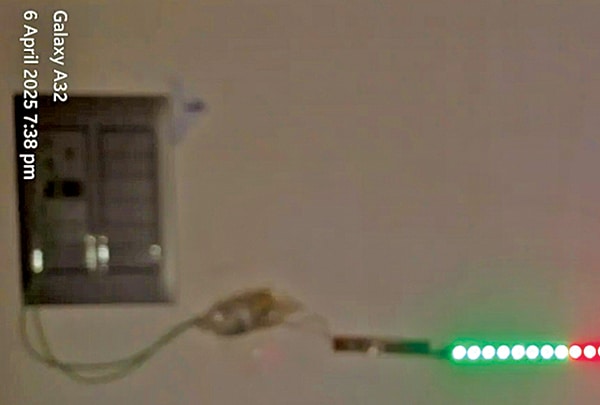
A DIY motion-activated LED strip controller built with an ATtiny85 microcontroller and an RCWL0516 microwave radar sensor that creates dynamic lighting effects when movement is detected.
This project is sourced from another site, not written by us — this list is our best match of their components against what we stock, not a verified bill of materials. Always check the original blog (linked above) for the actual parts list before buying.
This DIY motion-activated lighting system functions by combining a microwave radar sensor with a compact microcontroller to drive a vibrant LED strip. At the heart of the circuit is the RCWL0516 microwave radar sensor, which acts as the movement detector. Unlike standard passive infrared (PIR) sensors that only detect changes in thermal radiation, a microwave radar module emits high-frequency electromagnetic waves and measures the reflections bouncing back from moving objects. When someone walks into the detection zone, the shift in frequency caused by the movement alters the reflected signal, prompting the sensor to send a trigger voltage to the ATtiny85 microcontroller. The ATtiny85 serves as the tiny yet capable brain of the system, running a compiled program that interprets this digital trigger. Upon receiving the signal, the microcontroller outputs precise data signals to control the 2-meter Neopixel LED array. Because Neopixels contain integrated data-driven drivers, the ATtiny85 can sequence custom lighting animations, color shifts, or smooth fading effects along the length of the strip. Power is delivered to the entire setup via a stable 5V power supply, which must supply enough current to handle both the microcontroller and the high-draw LED array. During construction, an Arduino Uno is utilized as an external MCU programmer to flash the compiled code onto the standalone ATtiny85 IC before it is integrated permanently onto a small general-purpose PCB using flexible wires.
Why Build This
Design a custom, motion-responsive lighting upgrade for hallways, lockers, or bedroom accent spaces.
Gain practical experience programming standalone microcontrollers using an Arduino board as a bridge.
Build an interactive security-adjacent prototype that demonstrates real-world trigger-and-response automation.
Real-World Application
Ideal for hallways, bedroom accent lighting, or interactive decorative setups that respond to human presence.
Skills You'll Learn
Microcontroller programming
IC ISP programming
Addressable LED data signaling
Microwave radar sensor integration
Prototyping on general-purpose PCBs
Power distribution management
Safety Precautions
No specific precautions noted for this build — always follow general electronics safety practices.
Technology Tags
ATTINY85
NEOPIXEL
RCWL0516
MICROWAVE RADAR SENSOR
LED LIGHTING
MOTION SENSOR
ARDUINO UNO
Frequently Asked Questions
Yes, you can run the entire project directly from an Arduino Uno, but the ATtiny85 is chosen here because its small footprint allows the final circuit to fit compactly onto a small general-purpose PCB.
The Arduino Uno is temporarily used as an ISP programmer to upload your written code onto the ATtiny85 IC before the microcontroller is placed into the final circuit.
The RCWL0516 microwave radar sensor detects movement through non-metallic walls and objects by bouncing radio waves, whereas standard PIR sensors rely strictly on line-of-sight body heat.
Gallery
This page is part of Kitkraft's Project Hub — a curated collection of electronics & robotics projects gathered from the maker community to help students and hobbyists discover and learn to build. Kitkraft does not claim authorship of the original project, and makes no representation as to the accuracy, completeness or safety of third-party source material. The summary and "How It Works" explanation above are AI-generated, rewritten with reference to the original tutorial — not a reproduction of it. Full credit and a direct link to the original source are provided above. If you're the original creator and have a concern about how your work is represented here, please contact us and we'll address it promptly.
Kitkraft Project Hub — curated from the maker community, credited at the source.
 PIR Motion Detector Sensor Module HC-SR501
Rs. 95.00
 MB102 Adjustable Breadboard Power Supply Module (3.3V & 5V) for Arduino & Raspberry Pi
Rs. 139.00
 Jumper Wire 10 Pin Male To Male 20cm
Rs. 45.00
 400 Points Mini Solderless Prototype PCB Breadboard High Quality
Rs. 89.00
 Jumper Wire 10 Pin Male To Female 20cm
Rs. 45.00


