This project is sourced from another site, not written by us — this list is our best match of their components against what we stock, not a verified bill of materials. Always check the original blog (linked above) for the actual parts list before buying.
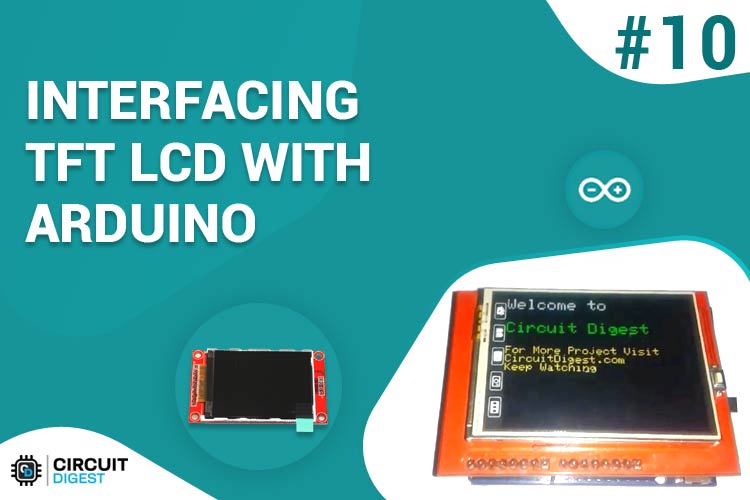
This project integrates a TFT LCD shield directly onto an Arduino Uno board to create a visual output system for interactive media and instrumentation. The TFT LCD shield is designed to mate physically and electrically with the standard pinout of the Arduino Uno, routing power, ground, and data lines through its header pins without requiring complex external wiring for basic mounting. However, jumper wires may be used alongside the USB cable for programming and auxiliary connections. Functionally, the Arduino Uno acts as the central processing unit, executing code written in the Arduino IDE. When the processor needs to update the display—such as rendering text, shapes, or UI elements—it communicates high-level graphic commands down to the display's onboard controller. The integration relies heavily on the SPFD5408 library, which abstracts the low-level hardware communication protocols required by the display controller chip. By handling the register configurations and pixel-mapping routines, the software enables the microcontroller to efficiently push frame data over the shared hardware interface. The USB cable supplies necessary power from a host computer during development and allows the compiled sketch to be uploaded directly to the microcontroller's flash memory. Together, the hardware stack and software library transform the basic Arduino board into a capable graphical user interface capable of rendering dynamic visual feedback.
Why Build This
Design custom graphical instrumentation displays and user interfaces for advanced undergraduate engineering prototypes.
Prototype graphical user interfaces for home automation systems and DIY microcontroller-based gaming consoles.
Real-World Application
Used in instrumentation displays, handheld measuring devices, DIY gaming consoles, and user interfaces for home automation systems.
Skills You'll Learn
Display controller interfacing
Library integration and management
SPI or parallel bus communication
Graphical user interface programming
Microcontroller pinout utilization
Safety Precautions
No specific precautions noted for this build — always follow general electronics safety practices.
Technology Tags
ARDUINO
TFT LCD
SPFD5408
DISPLAY
EMBEDDED SYSTEMS
Frequently Asked Questions
The SPFD5408 library contains specific initialization commands and register configurations tailored to match the exact controller chip on your specific TFT LCD shield, ensuring proper pixel mapping and display initialization.
While the shield is physically designed to match the Arduino Uno form factor, compatibility with other boards depends on whether they share the exact same pinout, operating voltage (typically 5V logic), and hardware SPI or digital pin layout.
TFT LCD shields are designed to plug directly into the Arduino headers without external wiring, but jumper wires may still be needed if your specific shield requires extra power connections or if you need to breakout signals for debugging.
Gallery
This page is part of Kitkraft's Project Hub — a curated collection of electronics & robotics projects gathered from the maker community to help students and hobbyists discover and learn to build. Kitkraft does not claim authorship of the original project, and makes no representation as to the accuracy, completeness or safety of third-party source material. The summary and "How It Works" explanation above are AI-generated, rewritten with reference to the original tutorial — not a reproduction of it. Full credit and a direct link to the original source are provided above. If you're the original creator and have a concern about how your work is represented here, please contact us and we'll address it promptly.
Kitkraft Project Hub — curated from the maker community, credited at the source.
 Jumper Wire 10 Pin Male To Male 20cm
Rs. 45.00
 Cable for Arduino Nano (USB 2.0 A to USB 2.0 Mini B) 30cm
Rs. 69.00
 400 Points Mini Solderless Prototype PCB Breadboard High Quality
Rs. 89.00
 MB102 Adjustable Breadboard Power Supply Module (3.3V & 5V) for Arduino & Raspberry Pi
Rs. 139.00
 Jumper Wire 10 Pin Male To Female 20cm
Rs. 45.00


