This project is sourced from another site, not written by us — this list is our best match of their components against what we stock, not a verified bill of materials. Always check the original blog (linked above) for the actual parts list before buying.
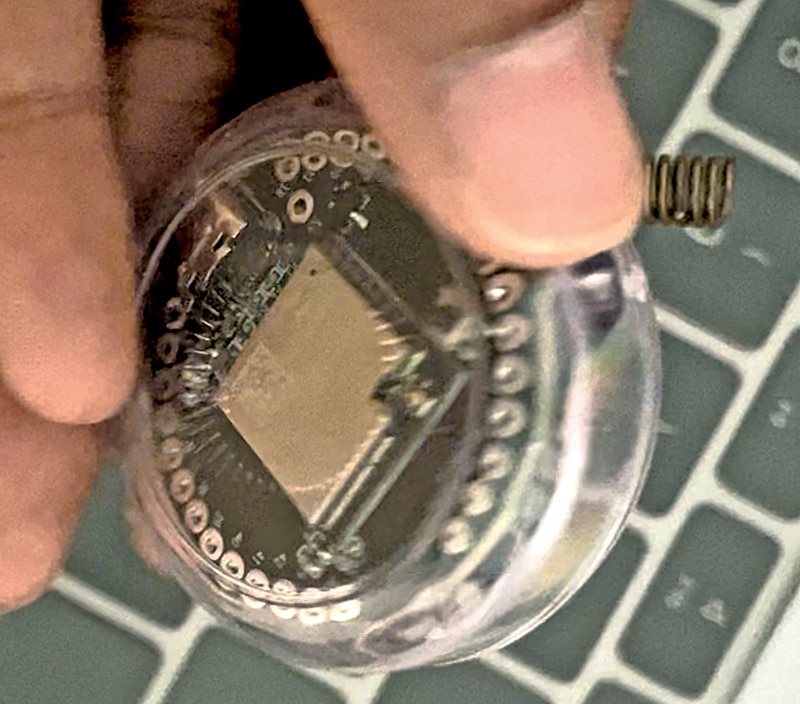
The core of this homemade metal detector project is the IndusBoard Coin, a compact 3cm microcontroller development board that serves as the processing and sensing hub. Powered by a 3.3V battery and connected via a USB type C cable for programming, the board utilizes its onboard magnetometer sensor to continuously monitor the surrounding magnetic field. In a normal environment, the magnetometer reads a baseline magnetic signature corresponding to Earth's natural magnetic field and local ambient metal or electrical influences. When a metallic object—such as a coin, key, or piece of iron—is brought close to the IndusBoard Coin, it distorts or concentrates these local magnetic flux lines. The magnetometer detects this subtle shift in magnetic field strength and orientation. By running custom code written in the Arduino IDE, the microcontroller reads these real-time sensor measurements, compares them against the established baseline threshold, and registers a detection event when the fluctuation exceeds a specified limit. This setup demonstrates how solid-state magnetic sensors can be repurposed for proximity and metal-sensing applications in compact, battery-powered embedded systems.
Why Build This
Discover how embedded magnetometers can detect physical objects by measuring subtle fluctuations in local magnetic fields.
Build a portable, battery-powered telemetry and sensing device using a compact 3cm microcontroller board.
Practice writing and uploading basic sensor-monitoring code using the Arduino IDE for hobbyist exploration and lost-object retrieval.
Real-World Application
Useful for hobbyist exploration, finding lost metal objects, and understanding magnetic field sensing in embedded systems.
Skills You'll Learn
Magnetometer sensor interfacing
threshold-based object detection
embedded programming with Arduino IDE
reading analog or digital sensor telemetry
battery-powered circuit deployment
Safety Precautions
No specific precautions noted for this build — always follow general electronics safety practices.
Technology Tags
INDUSBOARD
MAGNETOMETER
LSM303AGR
ARDUINO IDE
SENSORS
EMBEDDED SYSTEMS
Frequently Asked Questions
No, this project uses the onboard magnetometer sensor of the IndusBoard Coin, so no external search coils or soldering are required.
It can sense ferrous and magnetic metal objects that cause a noticeable fluctuation in the local magnetic field near the sensor.
Yes, you can power and program the board using a standard USB type C cable connected to your computer while working in the Arduino IDE.
This page is part of Kitkraft's Project Hub — a curated collection of electronics & robotics projects gathered from the maker community to help students and hobbyists discover and learn to build. Kitkraft does not claim authorship of the original project, and makes no representation as to the accuracy, completeness or safety of third-party source material. The summary and "How It Works" explanation above are AI-generated, rewritten with reference to the original tutorial — not a reproduction of it. Full credit and a direct link to the original source are provided above. If you're the original creator and have a concern about how your work is represented here, please contact us and we'll address it promptly.
Kitkraft Project Hub — curated from the maker community, credited at the source.
 Jumper Wire 10 Pin Male To Male 20cm
Rs. 45.00
 400 Points Mini Solderless Prototype PCB Breadboard High Quality
Rs. 89.00
 MB102 Adjustable Breadboard Power Supply Module (3.3V & 5V) for Arduino & Raspberry Pi
Rs. 139.00
 Jumper Wire 10 Pin Male To Female 20cm
Rs. 45.00


