This project is sourced from another site, not written by us — this list is our best match of their components against what we stock, not a verified bill of materials. Always check the original blog (linked above) for the actual parts list before buying.
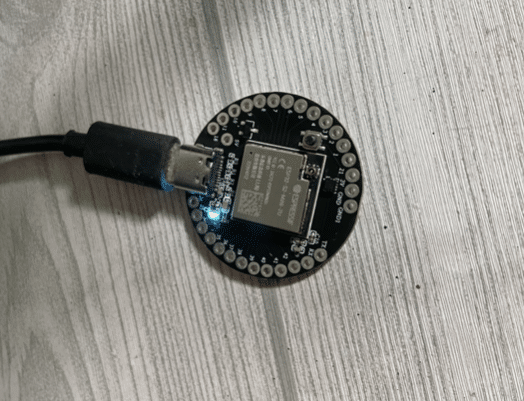
Over-the-Air (OTA) programming allows you to update the firmware on your IndusBoard (powered by the ESP32 microcontroller) wirelessly over a local Wi-Fi network, eliminating the need for a physical USB connection during development. The system functions by first flashing an initial program via USB that connects the ESP32 to your local Wi-Fi router and initializes the Arduino OTA library services. Once connected to the network, the ESP32 listens for incoming firmware update packets broadcasted from a computer running the Arduino IDE on the same network. When an update is initiated, the microcontroller downloads the new binary code, verifies it, and writes it directly into its flash memory partition allocated for application code. After a successful write operation, the device reboots automatically and boots into the newly updated firmware. Power is supplied continuously to the IndusBoard throughout this process using either a stable 5V power adapter or a compatible battery setup, ensuring the board remains operational during the network transmission and memory flashing phases.
Why Build This
Streamline the deployment and maintenance of deployed IoT nodes in remote or structurally inaccessible environments like high towers, bridges, and industrial labs.
Eliminate physical cable bottlenecks during the software iteration cycle when testing microcontroller code installed in physical enclosures or distant locations.
Gain practical undergraduate-level experience in network-based device management and wireless firmware delivery protocols.
Real-World Application
Deploying and maintaining IoT devices in remote or hard-to-reach locations such as bridges, high towers, roofs, gardens, and industrial labs.
Skills You'll Learn
Wireless network provisioning
Over-The-Air firmware deployment
microcontroller flash memory management
remote device maintenance
Arduino IDE network configuration
Safety Precautions
No specific precautions noted for this build — always follow general electronics safety practices.
Technology Tags
OTA
WIRELESS PROGRAMMING
ARDUINO IDE
WI-FI
FIRMWARE UPDATES
IOT
Frequently Asked Questions
You need a USB cable only for the initial code upload to set up Wi-Fi credentials and the OTA library. All subsequent updates can be done completely wirelessly.
No, both the computer running the Arduino IDE and the IndusBoard must be connected to the exact same local network for the IDE to discover the device.
If the transmission is interrupted, safety partitions in the ESP32 prevent corrupted boots, though you may need to reconnect via USB to re-flash the code if the bootloader becomes stuck.
Gallery
This page is part of Kitkraft's Project Hub — a curated collection of electronics & robotics projects gathered from the maker community to help students and hobbyists discover and learn to build. Kitkraft does not claim authorship of the original project, and makes no representation as to the accuracy, completeness or safety of third-party source material. The summary and "How It Works" explanation above are AI-generated, rewritten with reference to the original tutorial — not a reproduction of it. Full credit and a direct link to the original source are provided above. If you're the original creator and have a concern about how your work is represented here, please contact us and we'll address it promptly.
Kitkraft Project Hub — curated from the maker community, credited at the source.
 MB102 Adjustable Breadboard Power Supply Module (3.3V & 5V) for Arduino & Raspberry Pi
Rs. 139.00
 400 Points Mini Solderless Prototype PCB Breadboard High Quality
Rs. 89.00
 Jumper Wire 10 Pin Male To Male 20cm
Rs. 45.00
 Jumper Wire 10 Pin Male To Female 20cm
Rs. 45.00


