Project Hub/Test & Measurement Instrumentation/Multimeters, Voltmeters & Ammeters/Temperature Based Fan Speed Controller using ESP8266 and Arduino IDE
Advanced
ESP8266
₹500 – ₹1,500
6 – 12 Hours
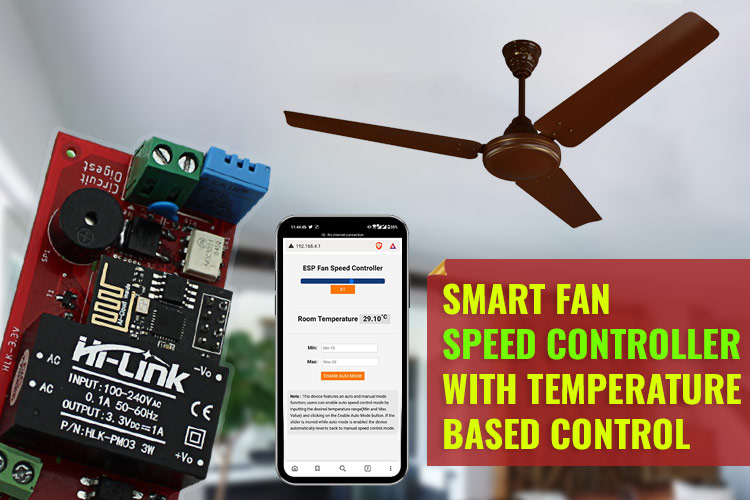
Temperature Based Fan Speed Controller using ESP8266 and Arduino IDE
An IoT-enabled smart fan speed controller utilizing a dual-microcontroller architecture (ESP8266 and PIC12F675) to achieve noise-free phase angle AC motor control based on temperature.
Originally published by Debashis Das on CircuitDigest
View original tutorial
How It Works
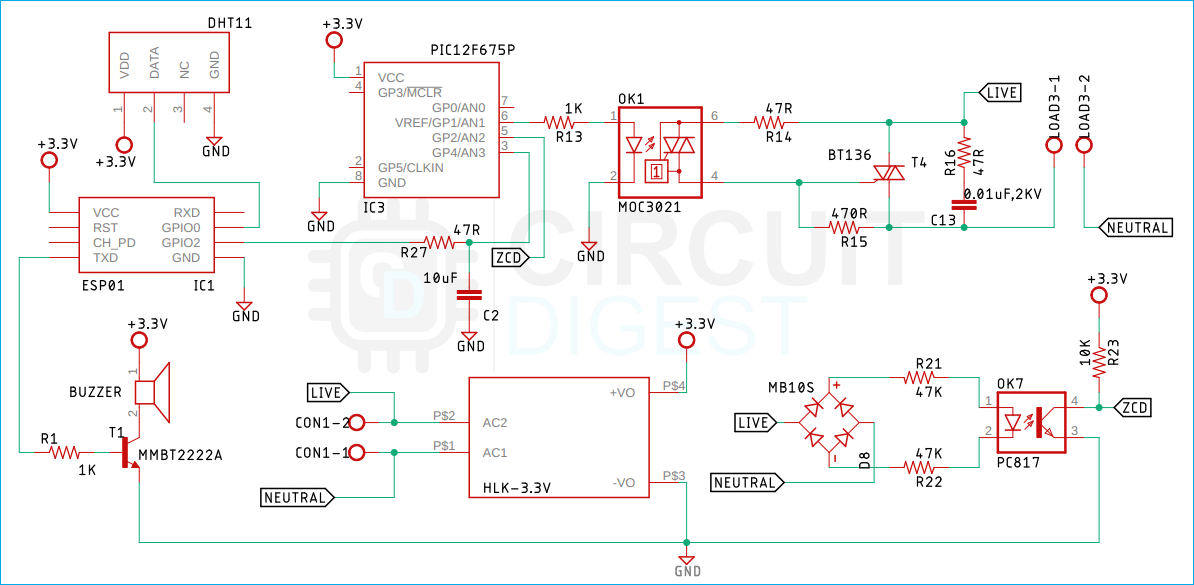
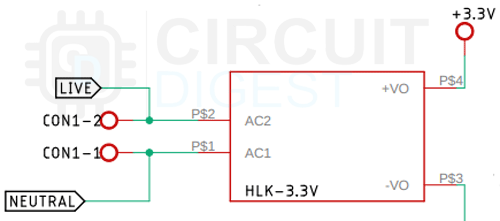
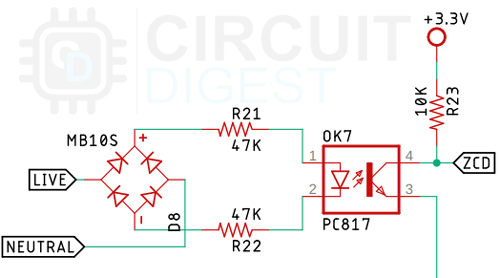
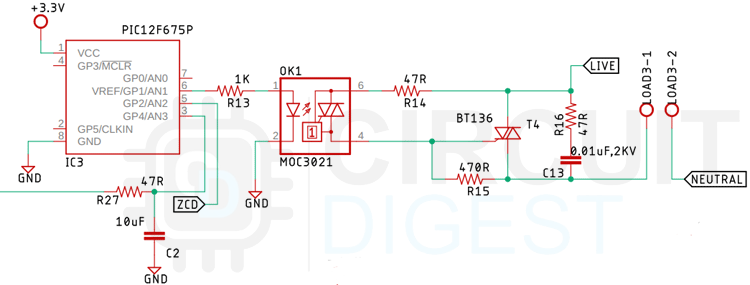
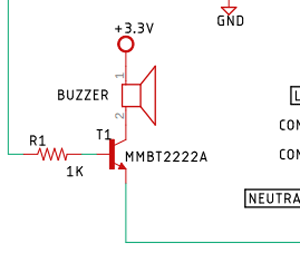
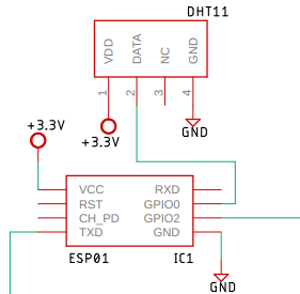
This advanced climate control system operates by combining environmental sensing, dual-microcontroller processing, and AC phase-angle power regulation. At the heart of the sensing network is the DHT11 sensor, which continuously monitors ambient temperature and humidity. The ESP8266-01 Wi-Fi module processes these readings and connects to a web interface for remote monitoring and IoT capabilities, while a PIC12F675 microcontroller manages low-level timing and control tasks. When the ambient temperature changes, the system alters its output to regulate an AC load. To achieve noise-free fan speed control without generating high electromagnetic interference, the circuit employs an isolated switching architecture. The control signal from the logic side triggers an MMBT2222A transistor, which drives the MOC3021 optocoupler (featuring a triac driver). This optical isolation safely separates the low-voltage DC control circuitry from the high-voltage AC mains. The MOC3021 then fires the BT136 Triac, which acts as an electronic switch to control the alternating current delivered to the fan motor. Power conversion from high-voltage AC mains to a stable low-voltage DC rail is handled safely by an HLK-PM03 Hi-Link 3.3V power supply module alongside an MB10S bridge rectifier, smoothing capacitors, and protective resistors. Additionally, a 12mm buzzer provides audible feedback for system events or alerts, while custom PCB layout ensures reliable routing for both high-voltage and low-voltage sections.
Why Build This
Design and implement an IoT-enabled home automation device that integrates wireless web control with local microcontroller logic.
Gain hands-on engineering experience with AC mains phase-angle dimming, TRIAC switching, and optical isolation techniques for motor speed regulation.
Develop a dual-microcontroller embedded system utilizing both the ESP8266 Wi-Fi ecosystem and a PIC microcontroller programmed via the XC8 compiler.
Real-World Application
Automated home climate control and energy-efficient smart ceiling fan regulation via web interface.
Skills You'll Learn
AC mains phase-angle control
TRIAC and optocoupler circuit design
IoT web interface integration
dual-microcontroller communication
PCB design for mixed high-voltage and low-voltage circuits
power supply conversion using Hi-Link modules
Safety Precautions
Working with 220V AC mains power and TRIAC dimming circuits presents a severe electric shock hazard. Ensure the circuit is completely disconnected from mains power before handling or programming.
Technology Tags
IOT
WI-FI
PHASE ANGLE CONTROL
TRIAC
PWM
ADC
TEMPERATURE SENSING
EMBEDDED C
ARDUINO IDE
Ready to build this?
We stock the boards, sensors and modules this project needs. A full parts list is coming soon — for now, browse our DIY Kits & components or search for ESP8266 parts.
Frequently Asked Questions
Why are both an ESP8266 and a PIC12F675 used in the same project?
The dual-microcontroller architecture divides labor: the ESP8266 handles Wi-Fi connectivity and web-based IoT functions, while the PIC12F675 handles local time-critical tasks such as microcontroller-based switching logic.
How does the circuit control the fan speed without burning out the motor?
The circuit uses a BT136 Triac driven by an MOC3021 optocoupler to perform phase-angle control. By timing the AC waveform switching precisely, it varies the effective voltage delivered to the fan motor smoothly.
Can I program this project using only the Arduino IDE?
The ESP8266 component is programmed using the Arduino IDE, but the PIC12F675 microcontroller requires the XC8 compiler and a compatible PIC programmer.
Gallery
Kitkraft Project Hub — curated from the maker community, credited at the source.
PRJ-00598