- Home
- DIY Kits
- DIY - Voting Machine using Arduino Nano, Copper Tape, OLED DIY - Voting Machine using Arduino Nano, Copper Tape, OLED
- Description
- Reviews
🔧 DIY Voting Machine Project Kit – Using Arduino Nano
Project Description:
Build your own electronic voting machine using this compact and beginner-friendly DIY kit. This project introduces users to core concepts of embedded electronics, input handling, and display interfaces using the Arduino Nano. Designed for students, hobbyists, and educators, the voting machine simulates a basic electronic voting system where users can vote via touch inputs), and results are displayed on an OLED screen with optional sound feedback through a buzzer.
This kit makes an excellent STEM learning tool, perfect for school exhibitions, workshops, or home experiments.
What You Can Build:
-
A simple voting system with two or more candidates
- Visual and audio feedback on button press
-
Reset functionality for reusability
-
Option to use touch-sensitive inputs with copper tape
Included Components:
| Component | Description |
|---|---|
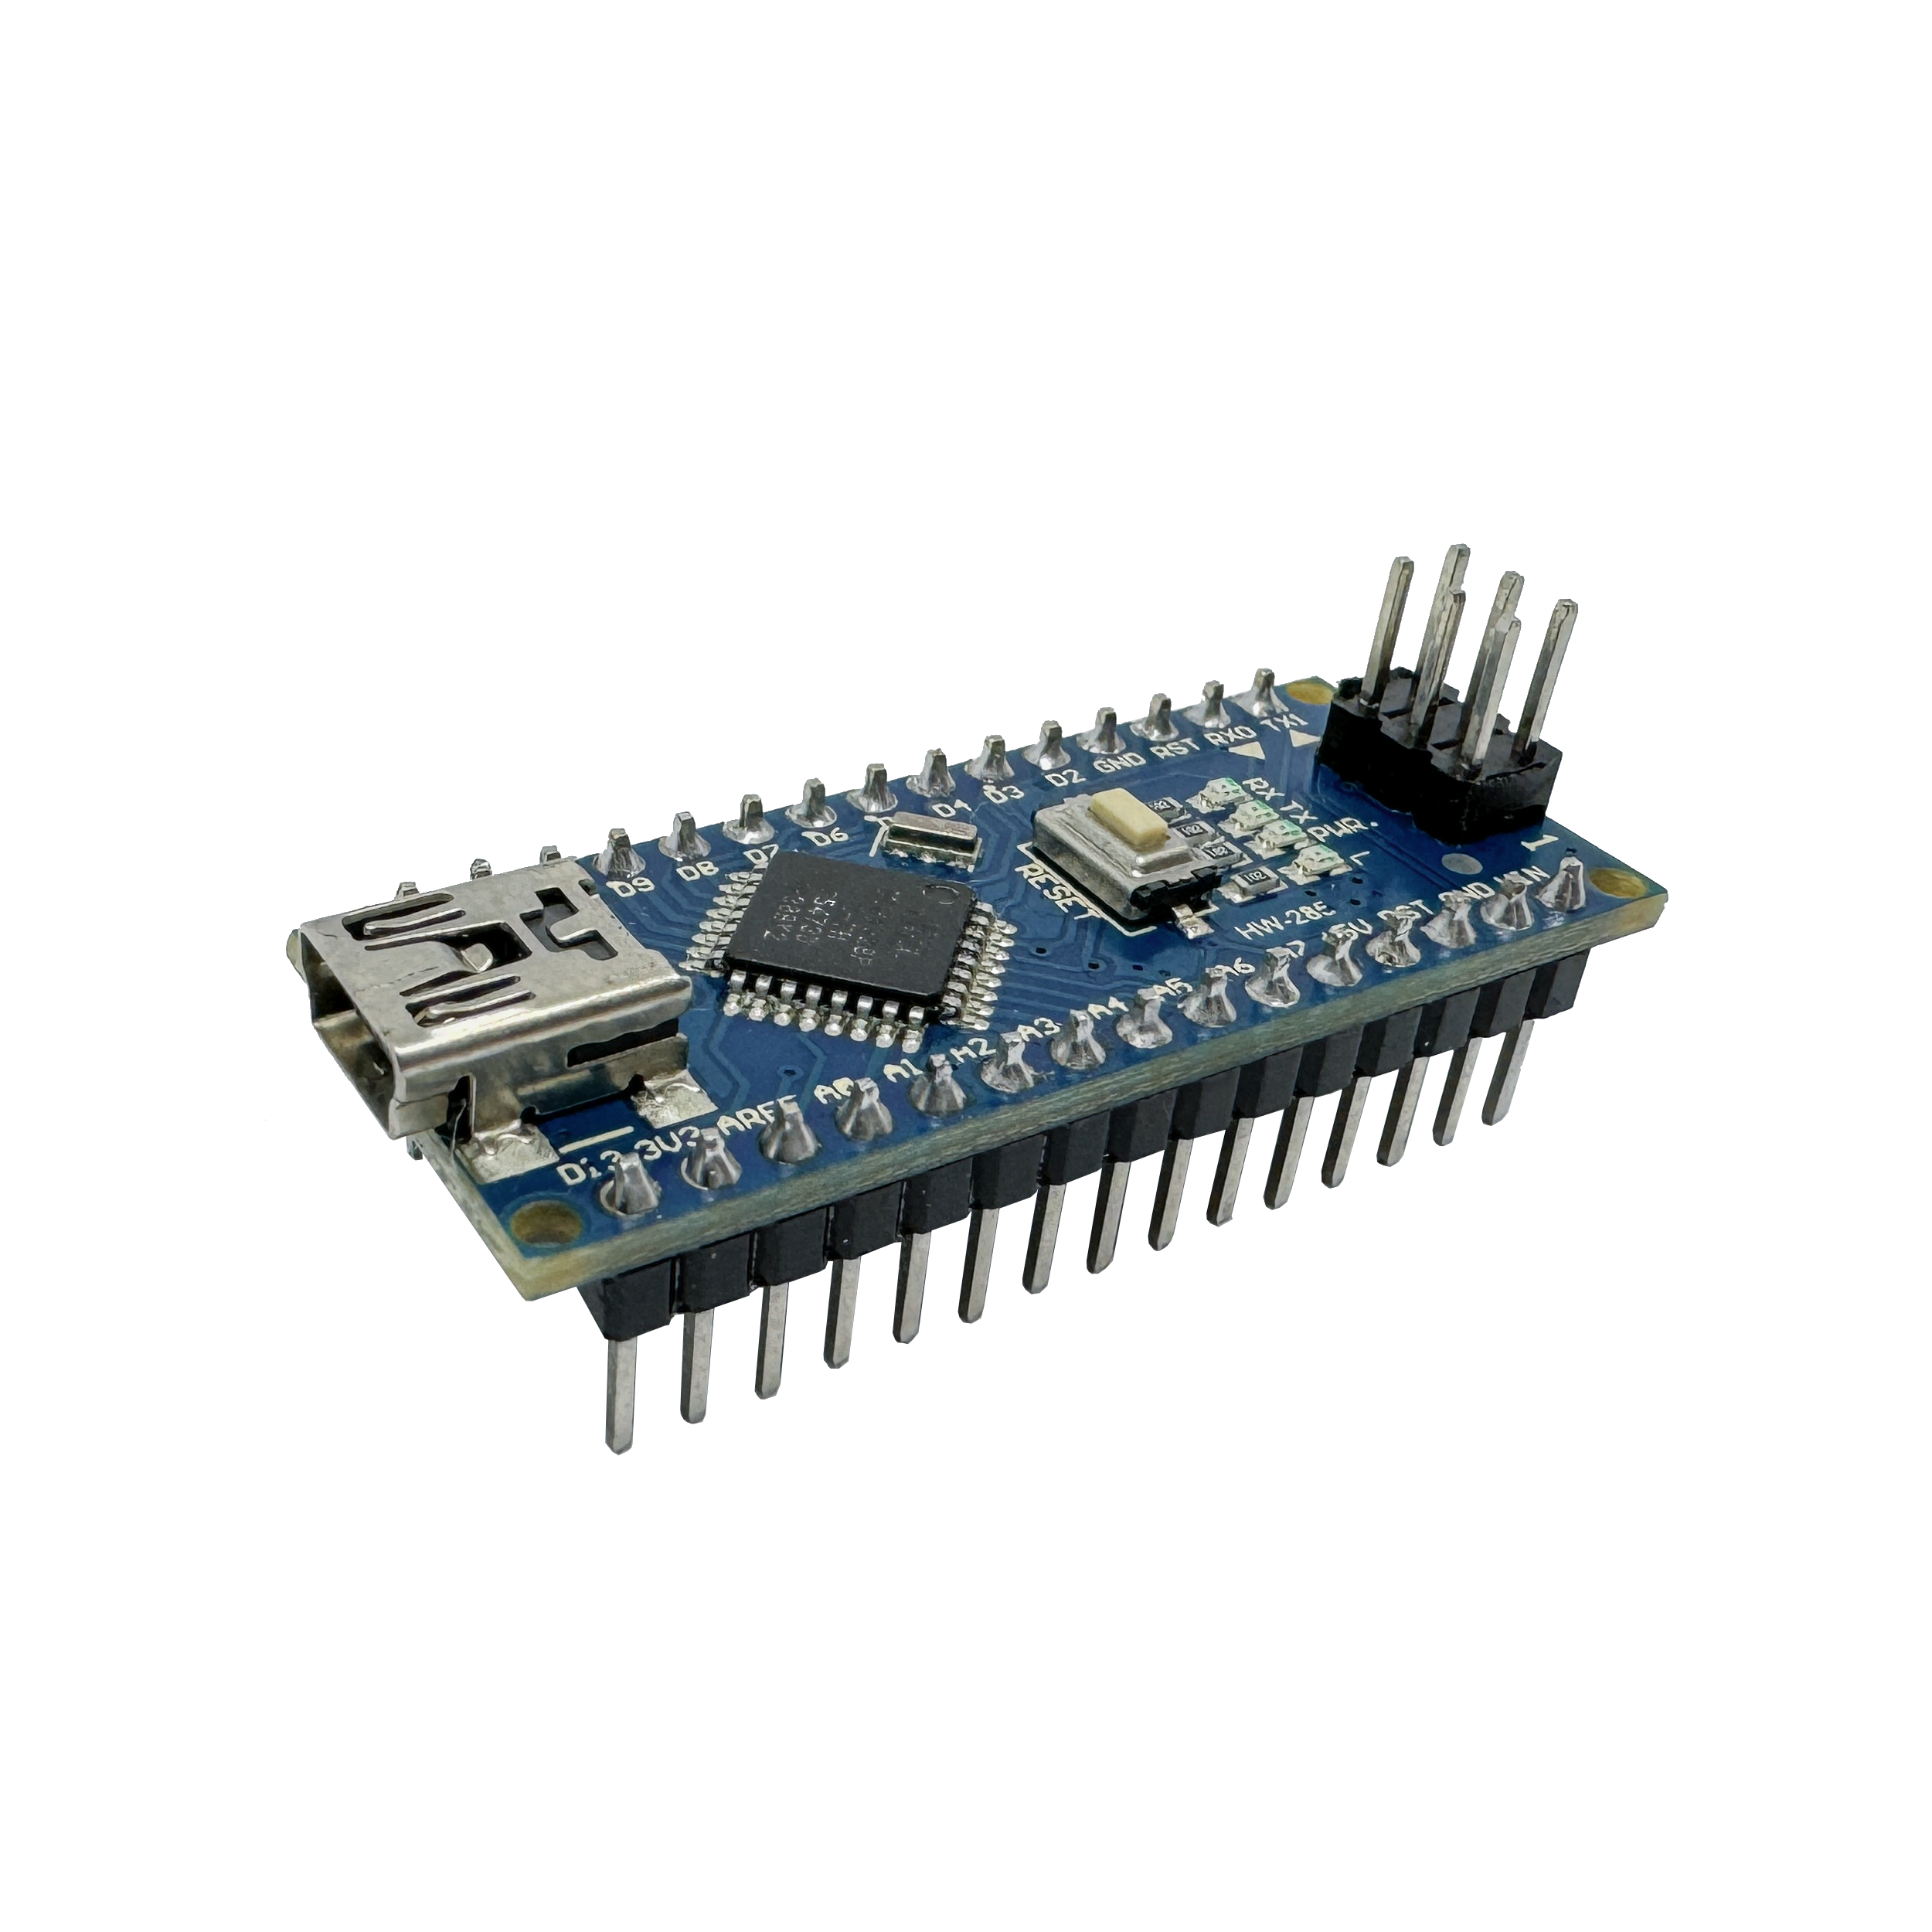
| Arduino Nano (Soldered) | Main microcontroller unit – compact and powerful for handling input/output operations. |
| USB Mini Cable | Used for programming and powering the Arduino Nano. |
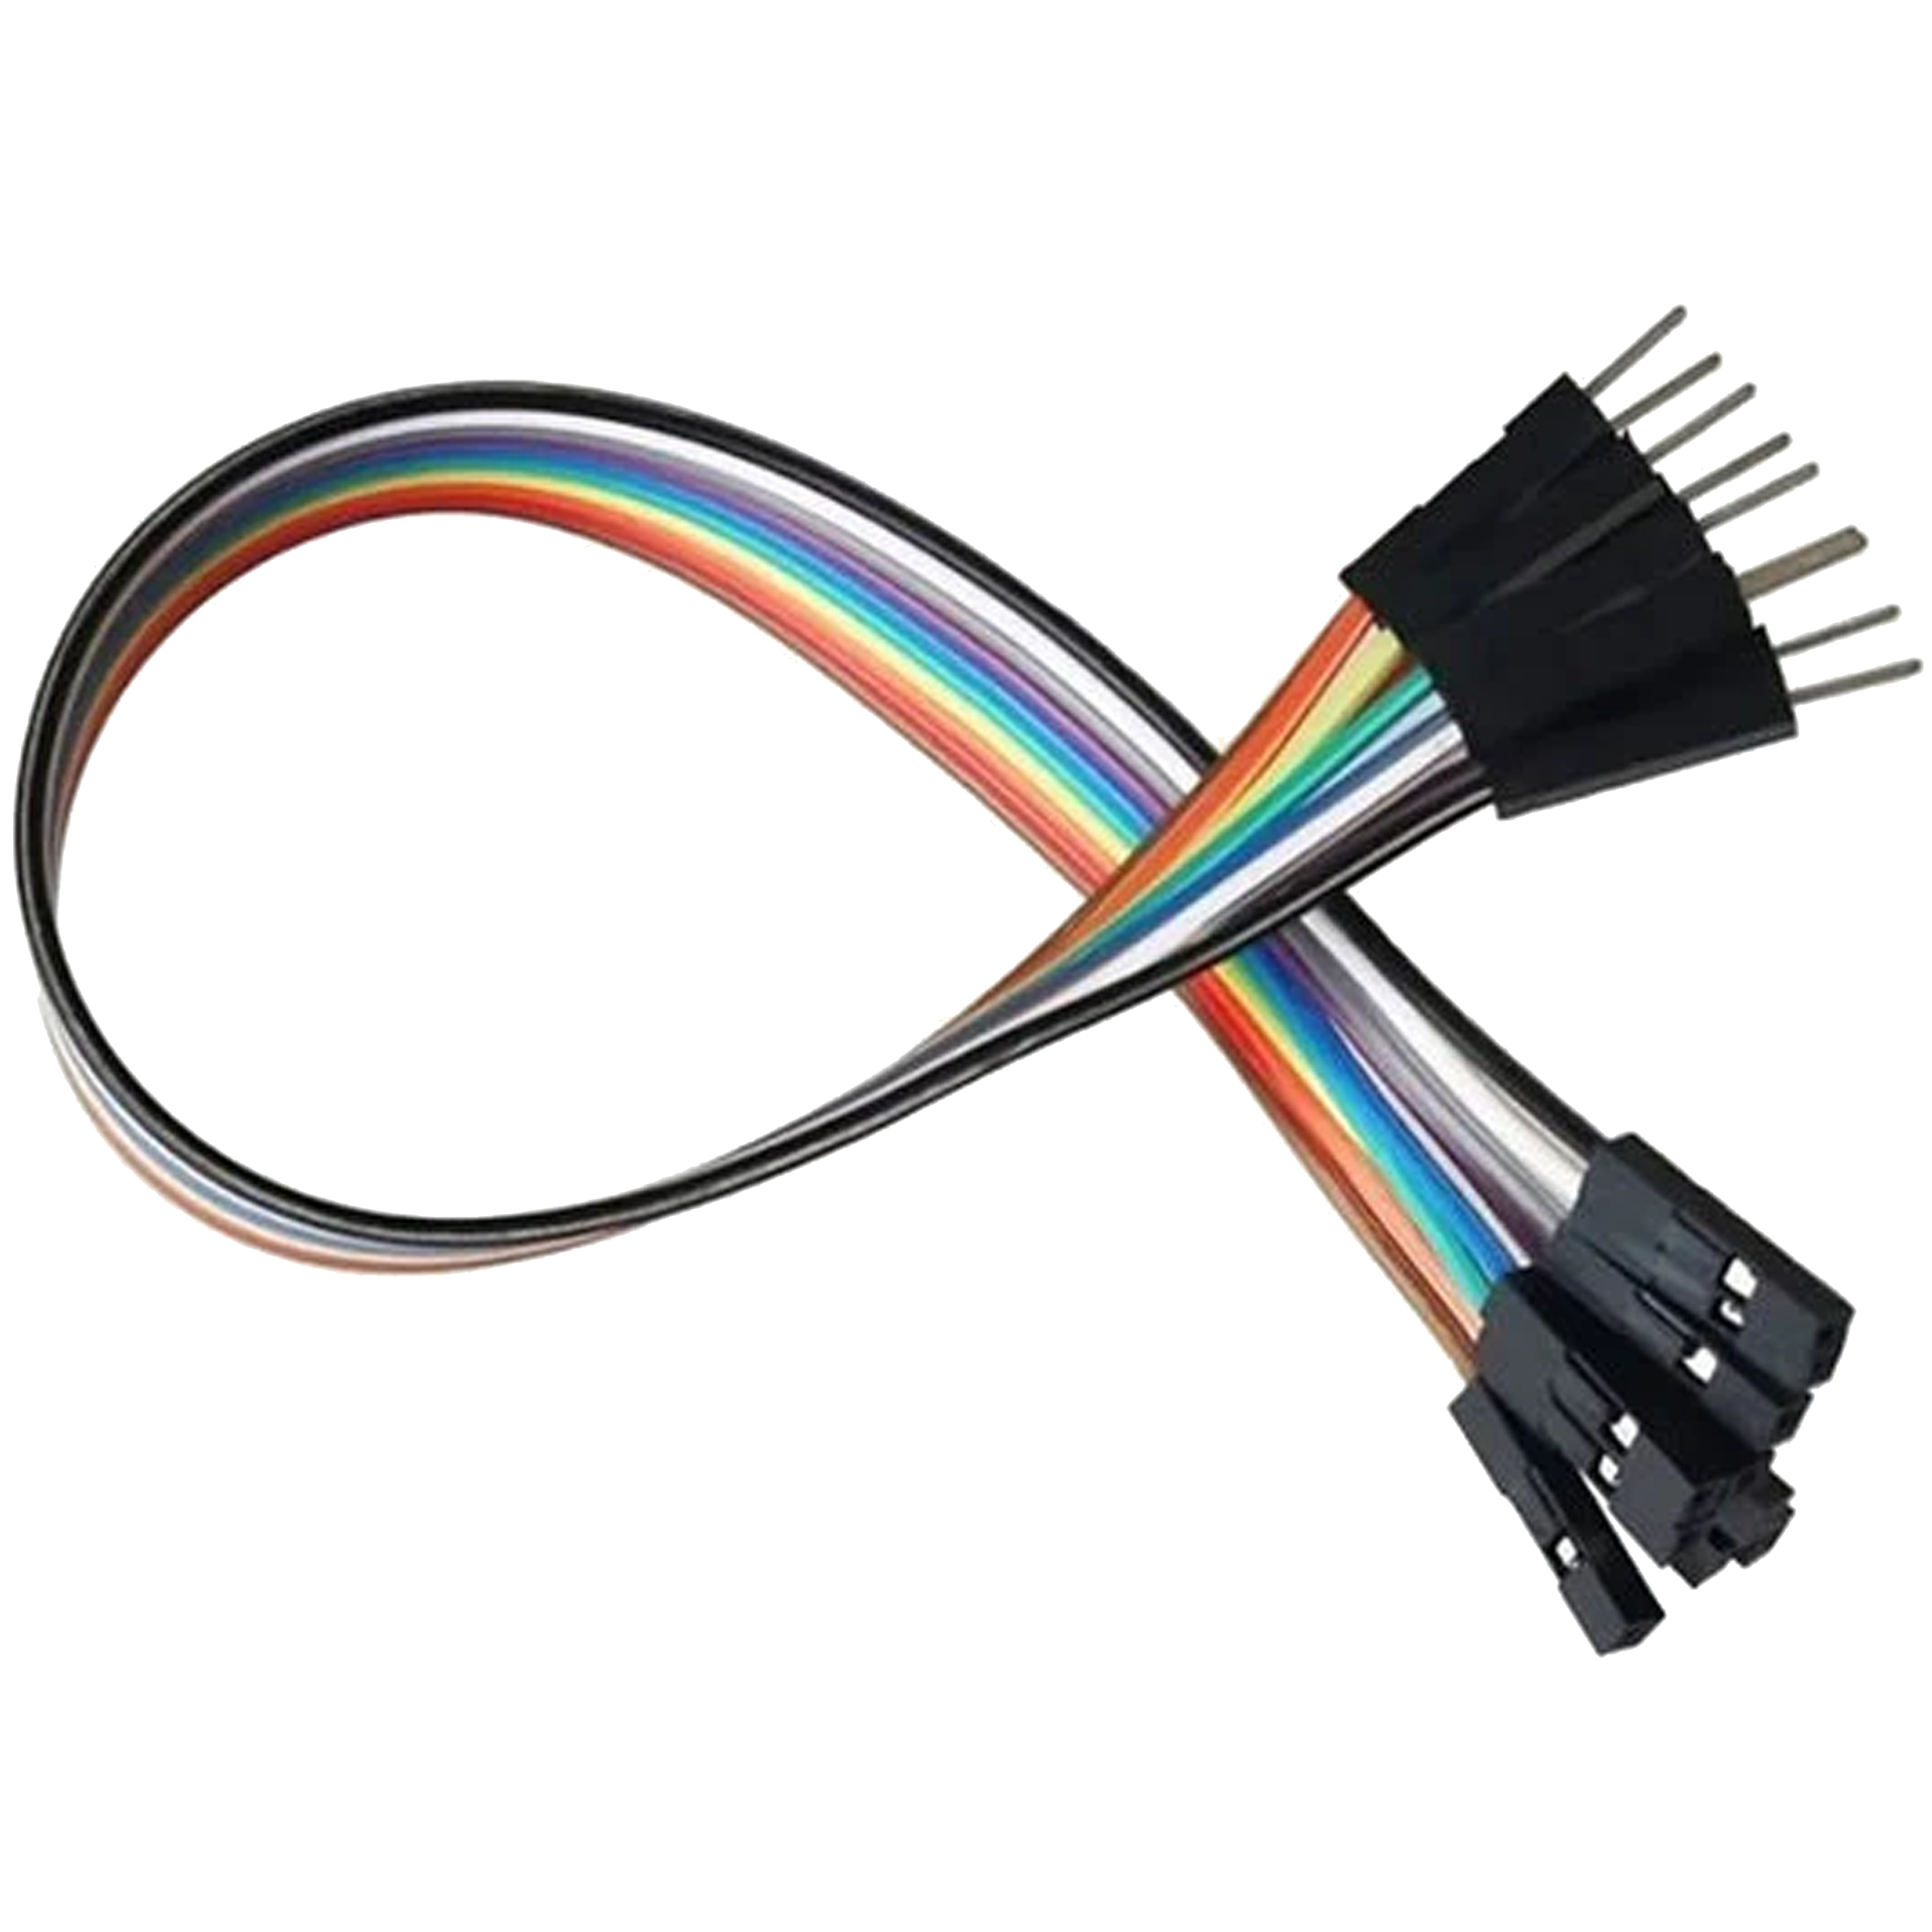
| Jumper Wires (Male-Female) | For connecting buttons, display, and sensors to the Nano without soldering. |
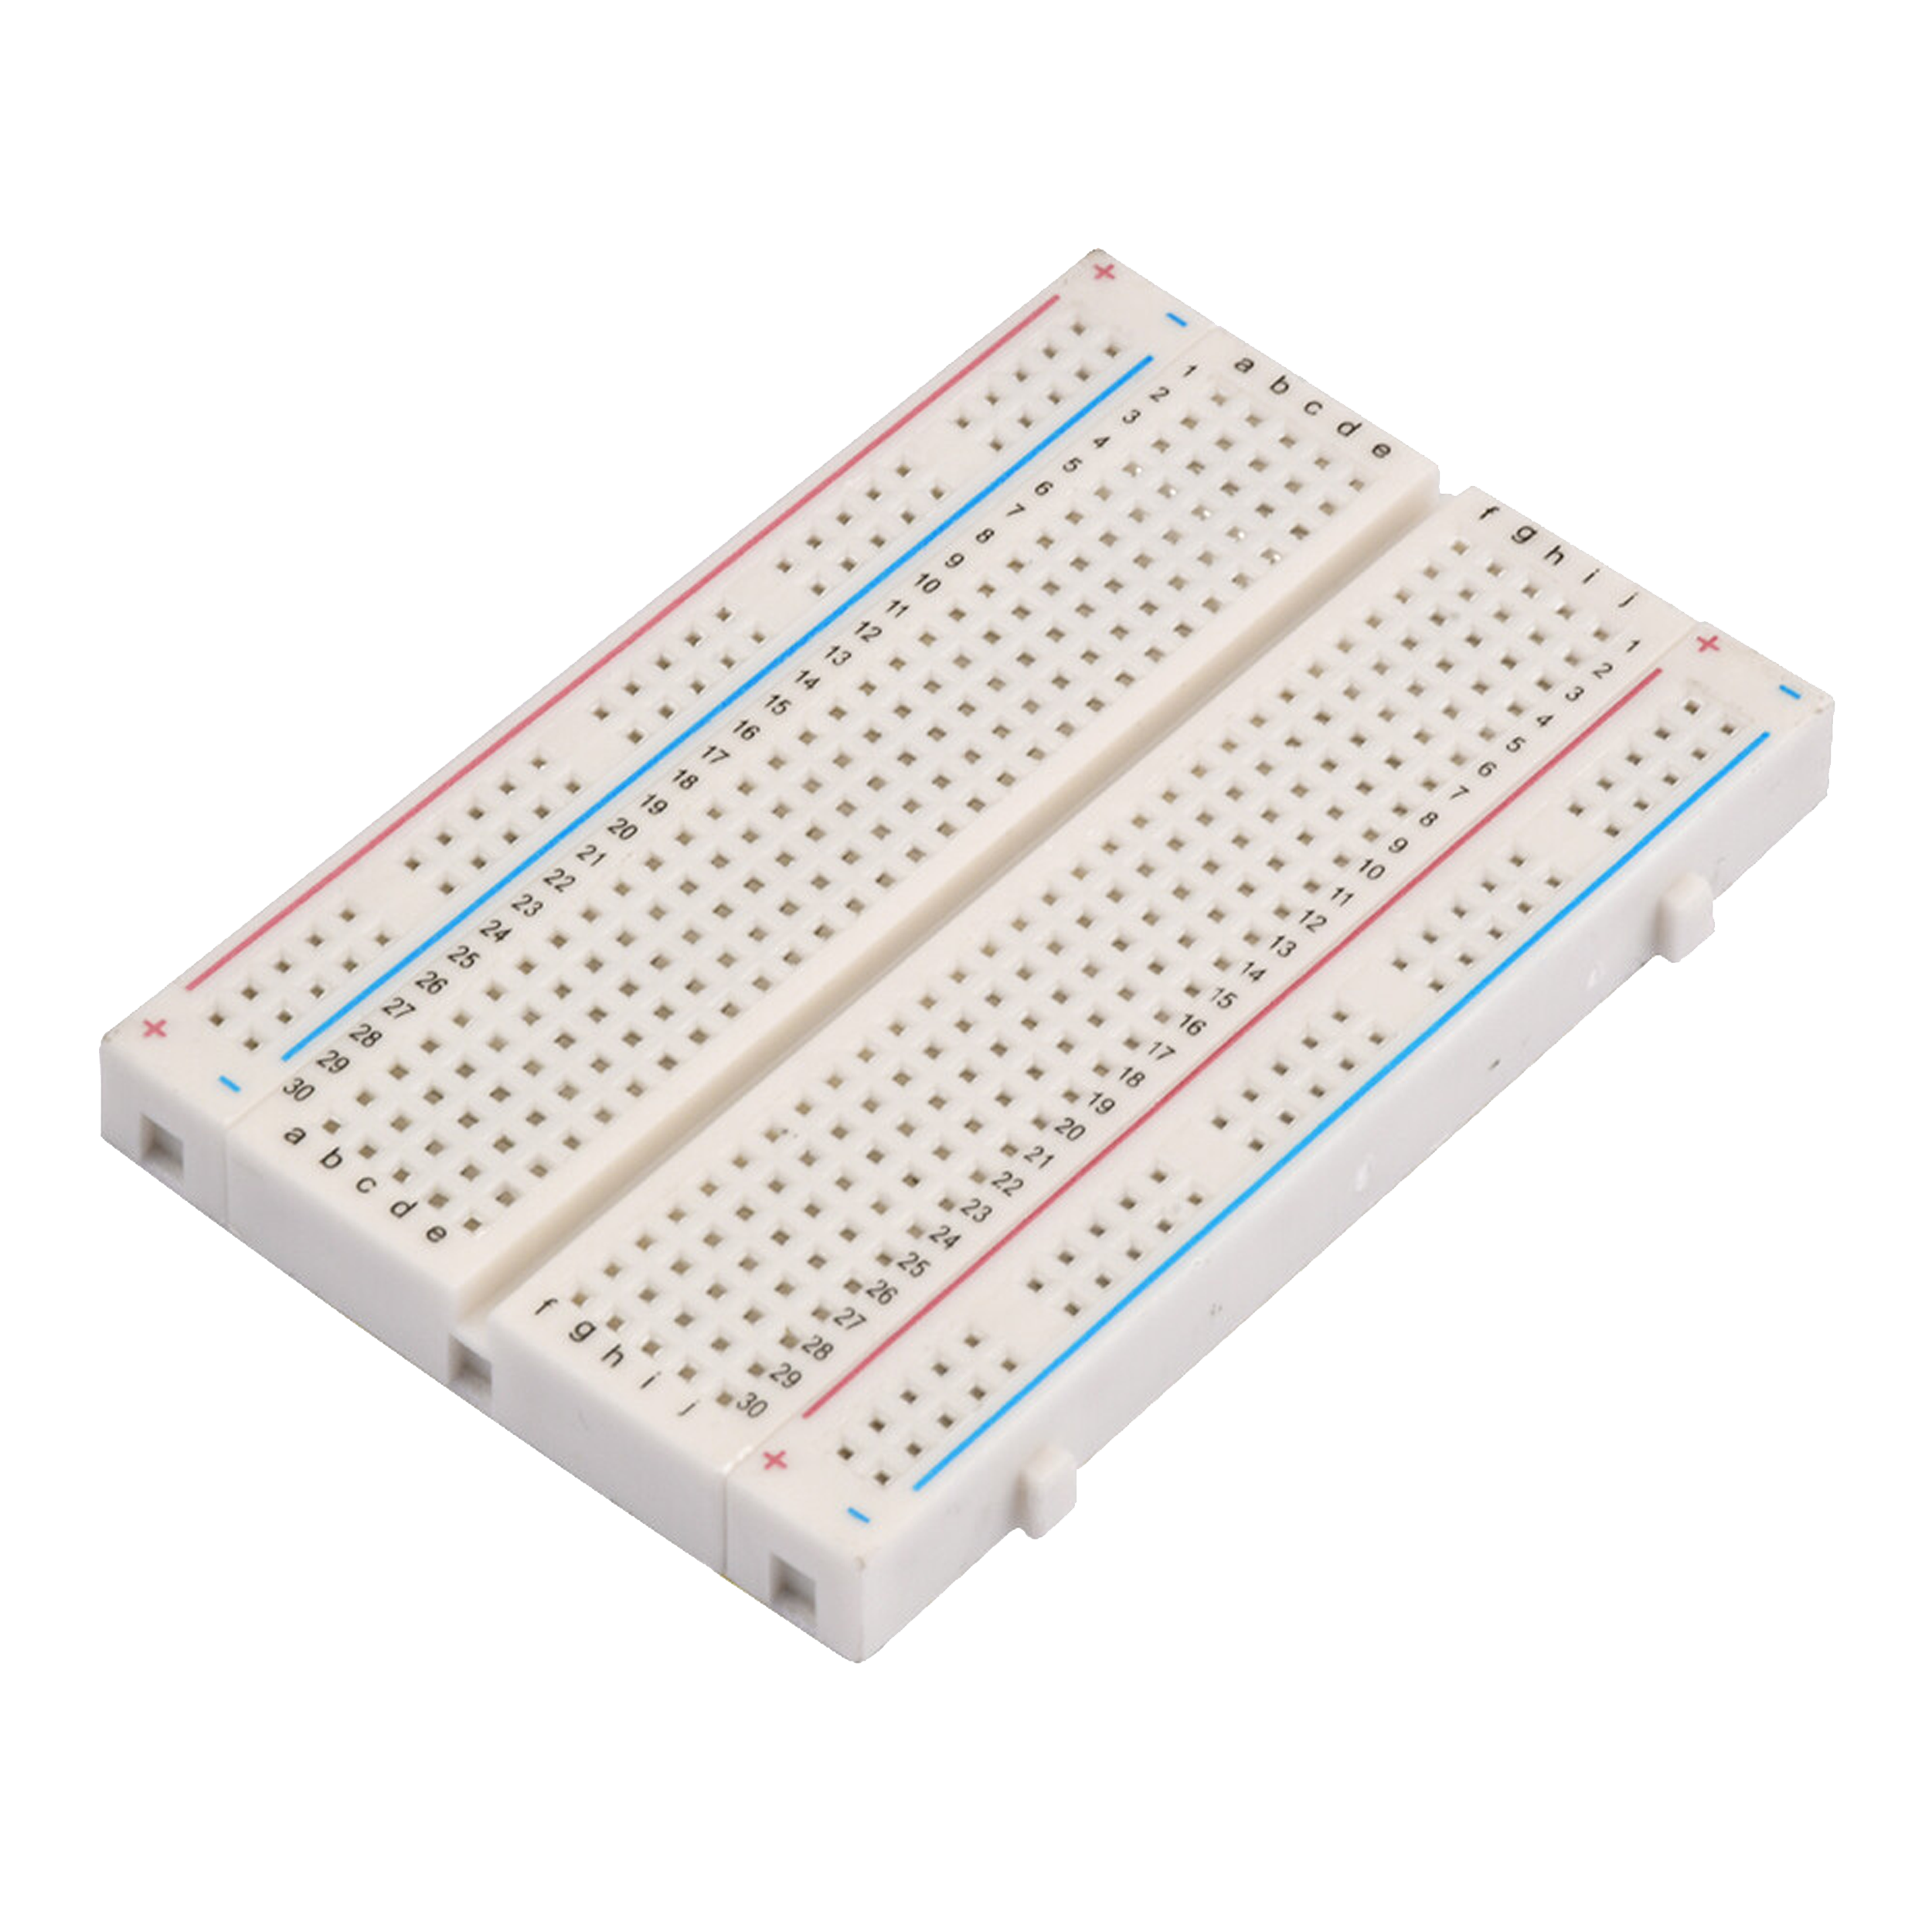
| 400-Point Breadboard | Prototyping base – enables solderless construction of the circuit. |
| 0.96” OLED Display | I²C-based monochrome display used to show candidate names and vote count in real time. |
| Copper Tape (2m) | Used to create capacitive touch buttons or conductive pads as voting inputs. |
| Red LED & Resistors | Provides visual confirmation of voting action or system status. |
| Piezo Buzzer (6V–12V) | Emits sound feedback for button presses or result announcements. |
| Red Multi-Strand Wire (1m) | Flexible wiring for custom or extended connections on breadboard or components. |
Key Features:
-
✅ Interactive Voting Interface – Users cast votes via physical buttons or touch-sensitive copper tape pads.
-
✅ Real-Time OLED Display – See live updates of vote counts and results on a crisp 0.96” OLED screen.
-
✅ Audible Feedback – The buzzer alerts users upon successful voting or reset actions.
-
✅ Visual Indicators – Red LED shows voting confirmation or error states.
-
✅ Portable and Reusable – Powered via USB and built on a breadboard for easy reuse and transport.
-
✅ Beginner-Friendly – Minimal soldering required, with pre-soldered Arduino Nano for instant use.
-
✅ Expandable Design – Add more candidates, use keypads, or integrate with Bluetooth for app-based results.
Learning Outcomes:
-
Understanding Arduino programming and digital I/O
-
Using OLED I²C displays
-
Handling user input via buttons or touch
-
Providing feedback using LEDs and buzzers
-
Basic circuit design and prototyping
-
Real-world application of microcontroller systems
Ideal For:
-
School and college science projects
-
STEM clubs and maker communities
-
Beginners looking to get started with Arduino
-
Workshop or classroom activities
Note: Product image is for illustrative purposes only. The contents of the kit are limited to electronic modules and accessories as specified in the product description.


