Micro SD Card Module with Arduino: Understanding and Interfacing
Learn how to interface a Micro SD card module with an Arduino to read and write data, effectively turning your microcontroller into a reliable data logger.
This project is sourced from another site, not written by us — this list is our best match of their components against what we stock, not a verified bill of materials. Always check the original blog (linked above) for the actual parts list before buying.
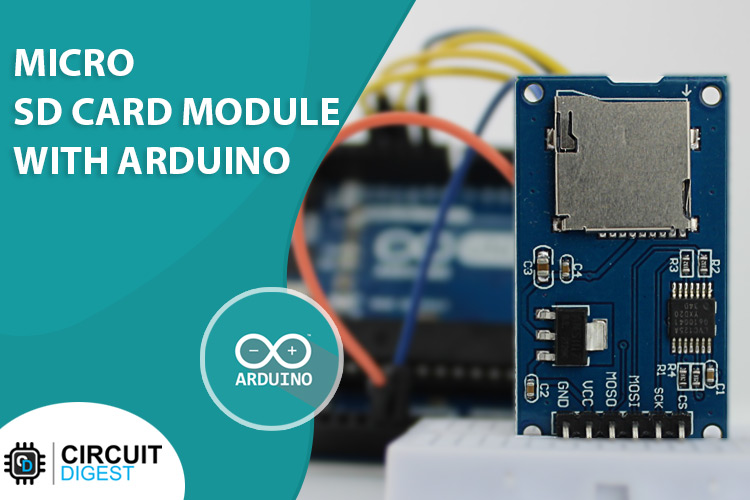
The Micro SD Card Module acts as a bridge between an Arduino Uno and a standard micro SD card. Because the Arduino Uno operates at 5 volts while typical micro SD cards operate at 3.3 volts, the module generally incorporates voltage regulation and logic level shifting to safely step down power and signals. Communication between the Arduino Uno and the SD card module takes place over the Serial Peripheral Interface (SPI) bus, which utilizes specific hardware pins for data transmission, data reception, and clock synchronization, alongside a dedicated chip select pin. When you program the Arduino Uno using the Arduino IDE and the SD library, the microcontroller sends commands and data packets over these SPI lines. The SD card module receives these digital signals, translates them to the appropriate voltage levels, and writes the data to the physical flash memory sectors inside the micro SD card, or conversely, reads data stored on the card and transmits it back to the Arduino for processing. Jumper wires and a breadboard are used to make secure electrical connections between the Arduino's digital pins and the module's pins, routing power, ground, and communication signals properly.
Why Build This
Create a dependable data logger for long-term temperature, GPS, or battery monitoring projects where microcontroller memory falls short.
Learn how to interface external high-capacity storage devices with a microcontroller using the SPI communication protocol.
Gain hands-on experience handling voltage level shifting to safely connect 3.3V peripherals to a 5V Arduino Uno.
Real-World Application
Temperature logging, GPS tracking, battery monitoring, and general sensor data storage where microcontroller internal memory is insufficient.
Skills You'll Learn
SPI communication protocol
digital logic level shifting
file system management on external storage
serial data logging
Safety Precautions
Ensure correct voltage regulation and level shifting; connecting a 3.3V micro SD card directly to a 5V supply without proper components can permanently damage the card.
Technology Tags
SPI COMMUNICATION
MICRO SD CARD
ARDUINO PROGRAMMING
DATA LOGGING
LEVEL SHIFTER IC
LM1117 REGULATOR
FILE HANDLING
Frequently Asked Questions
Micro SD cards operate internally at 3.3V. Connecting them directly to a 5V supply or unshifted 5V logic signals can permanently damage the card, which is why modules with built-in voltage regulators and level shifters are required.
You need the Arduino IDE to write and upload your code, along with the built-in SD library which provides functions to easily initialize the card, create files, and read or write data.
Most standard micro SD and SDHC cards formatted to FAT16 or FAT32 work well with the standard Arduino SD library, though very high-capacity SDXC cards may require alternative formatting or libraries.
Gallery
This page is part of Kitkraft's Project Hub — a curated collection of electronics & robotics projects gathered from the maker community to help students and hobbyists discover and learn to build. Kitkraft does not claim authorship of the original project, and makes no representation as to the accuracy, completeness or safety of third-party source material. The summary and "How It Works" explanation above are AI-generated, rewritten with reference to the original tutorial — not a reproduction of it. Full credit and a direct link to the original source are provided above. If you're the original creator and have a concern about how your work is represented here, please contact us and we'll address it promptly.
 Arduino UNO R3 Board (Compatible) – ATmega328P Microcontroller with USB Cable
Rs. 999.00
 Jumper Wire 10 Pin Male To Male 20cm
Rs. 45.00
 MB102 Adjustable Breadboard Power Supply Module (3.3V & 5V) for Arduino & Raspberry Pi
Rs. 139.00
 400 Points Mini Solderless Prototype PCB Breadboard High Quality
Rs. 89.00
 Jumper Wire 10 Pin Male To Female 20cm
Rs. 45.00


